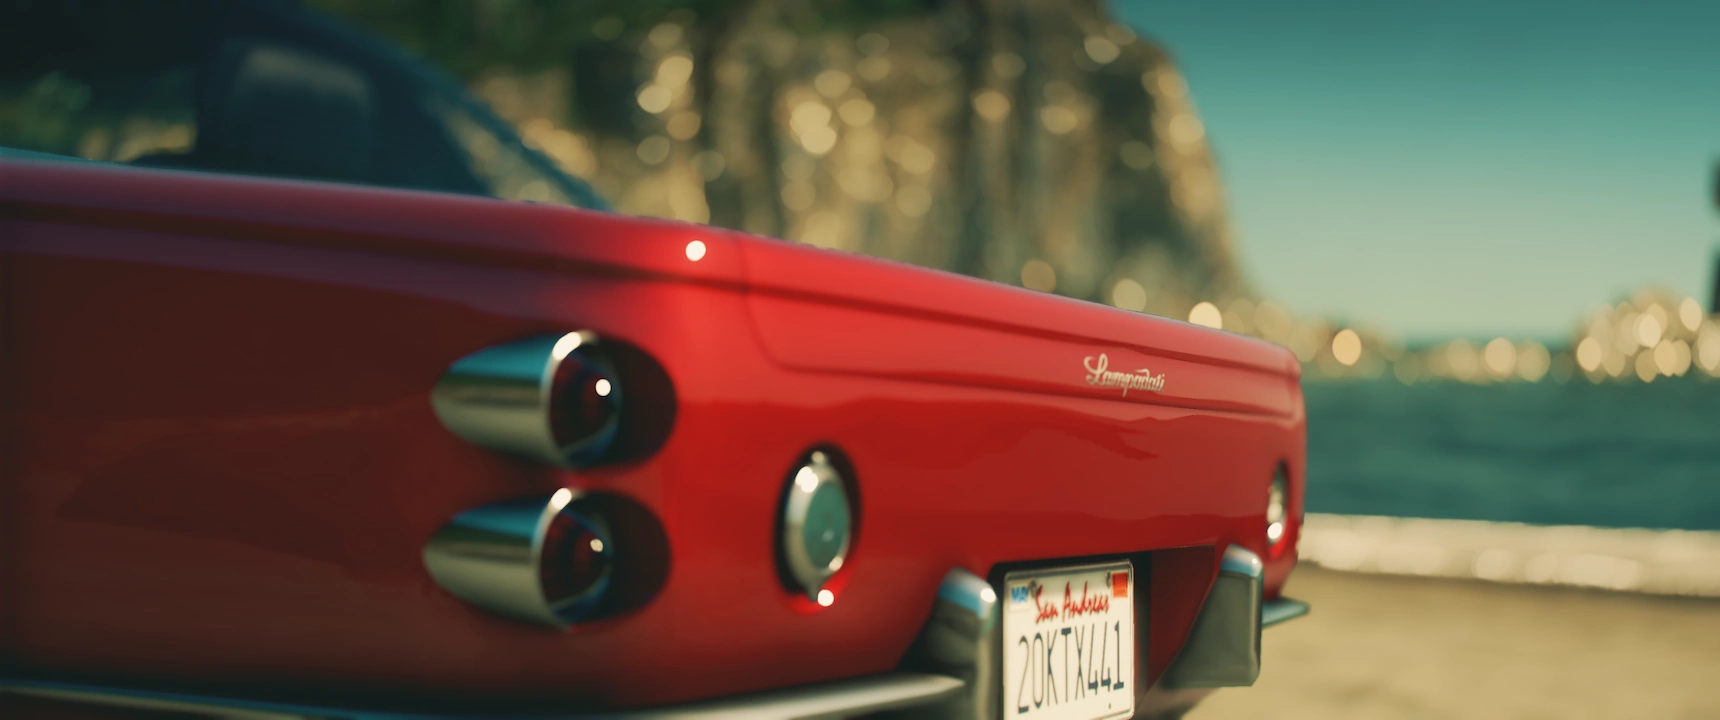
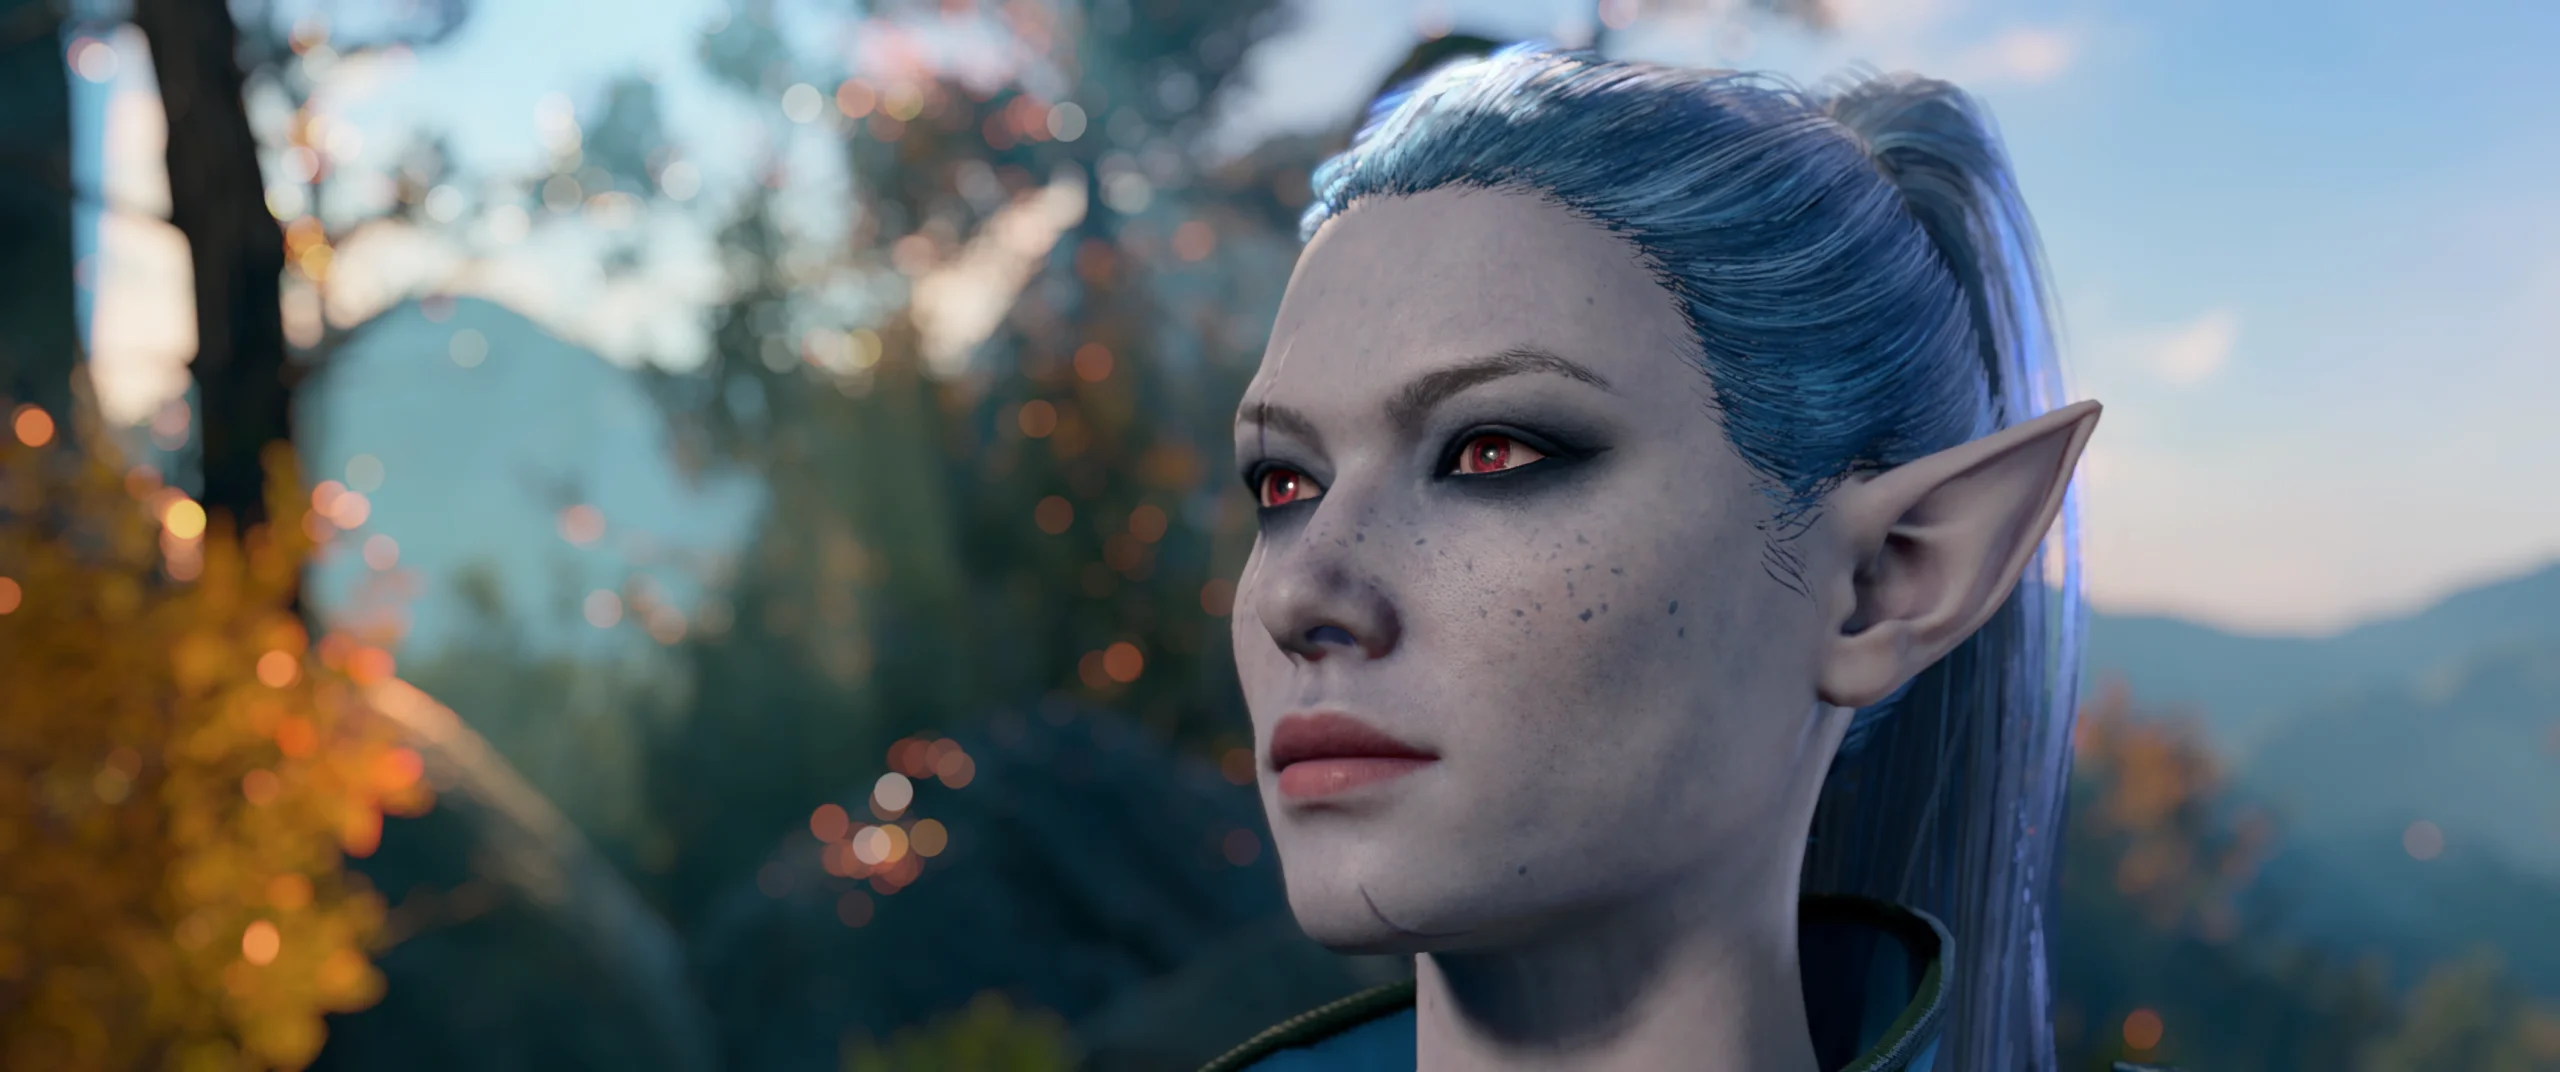
PHYSICAL DEPTH OF FIELD

OVERVIEW

Games use a pinhole lens camera model to render their images. As such, they do not exhibit the same visual effects seen in real cameras, and effects exclusive to those have to be artificially reintroduced. A Depth of Field (or DOF) filter simulates the blurring of out-of-focus areas in the image. In a real camera, many factors influence the appearance of of the DOF blur, or so-called “Bokeh”, which photographers and film makers use extensively as an artistic tool. Our physical Depth of Field shader recreates this effect as faithfully as possible.

SETTINGS

Focusing

To get a pleasing depth of field effect, it is important to focus your subject correctly. The effect gives you several options to achieve this, let’s breakdown how they work:

  • Manual Focus lets you define a fixed distance to the camera which will be in focus. This is mostly useful to figure out the behavior of the out-of-focus blur. The Manual Focus Plane Depth controls the distance of the focal plane, low values move the focus closer to the camera.
  • Auto Focus is perfect for gameplay as it emulates how a real camera determines the correct focus. Keeping a single point on the screen in focus would change quickly when moving the camera, so it is important to follow the procedure of film cameras. Since these (usually) lack depth information, they can only infer from the image whether the scene subject is sharp or not. While many methods exist, they usually calculate the level of blurryness in strips of pixels (e.g. with the Fast Fourier Transform) and try to minimize it in the areas that are supposed to be sharp.
    To reproduce this, a simple average of depth values on the screen (which is what Depth of Field shaders usually do) does not yield the desired results, as the level of blurryness is not proportional to the focus distance to the camera. Using the mathematical equations that describe the lens model of real cameras, it is however possible to work out how to weight the depth information such that their importance equals the influence on the level of blurryness in the image. This results in precisely the same behavior as a real autofocus. All you have to do is specify the area it is supposed to keep sharp by adjusting the Autofocus Center (-1 to 1, where (0, 0) is in the center of the screen) and the Autofocus Detection Range around the point. The Depth of Field shader will then work out the best focus distance to keep this area sharp.
    To prevent the focus from changing quickly and mimic the time it takes for the autofocus motor in a camera to adjust, you may adjust the reaction speed of the autofocus by tweaking the Autofocus Adjustment Speed.
  • Autofocus (Point and Click with MMB) is the third option and best used for screenshots. It focuses on a single point which you can specify by pressing the Middle Mouse Button/MMB (just press your scroll wheel down), you can also keep it pressed and drag the cursor around. Note that the shader will “forget” the value as soon as you reload the effects or restart the game.

CIRCLE OF CONFUSION

The size of the out of focus blur is usually called “Circle of Confusion” which is zero at the focus distance and grows in front of and behind the focus plane. The lens properties that influence the circle of confusion and therefore amount of blur are the Focal Length and Aperture. Both have essentially the same effect and could be replaced with a single blur radius slider, but they are nonetheless implemented this way because it is important to use correct-ish settings, otherwise the blur looks unnatural – our eyes are trained by consumption of media filmed or shot with real cameras after all.

The Aperture is the size of the opening of the lens that allows light to enter. It is a ring of adjustable sizes, usually comprised of many blades that interlock. The aperture size is usually measured in F-Stops (e.g. f/2.8), where higher values result in a smaller opening and a lower circle of confusion, i.e. blur radius. In a real camera, this would also reduce the amount of light that enters and darken the image, here it only adjusts the blur radius.

The Focal Length of a lens is usually specified in mm, and the higher the value, the more the lens zooms in, but also a wider blur. It is possible to calculate the Focal Length from the Field of View of the game (in fact, it would be more accurate to do so) but without knowing this value, we may set it to whatever we want. It helps to follow the values that are used in real life, i.e. 25 mm – 50 mm for nature, 75 mm -135 mm for portraits. There are a number of conversion tables on the web, it helps to consult them.

Apart from this, this effect also features an arbitrary percentage multiplier for both foreground and background blur for artistic control, but it is recommended to leave those at defaults and control blur via the physically based parameters only.

BOKEH

With the focusing out of the way and having decided how blurry the out of focus areas should be, we need to design how the blur should look like. After all, we want to separate our subject nicely. The different qualities attributed to the out-of-focus blur are referred to as Bokeh – photographers sometimes sound like sommeliers describing the taste of a wine when talking about it.

Let’s revisit the aperture, or rather the diaphragm around it. The bokeh blur usually forms sharply defined shapes, rather than a gaussian blur which converts a bright pixel to a diffuse blob. This shape is largely controlled by the diaphragm.

Depending on the number of blades and their alignment, the bokeh blur makes N-gonal discs appear around bright objects. You can control the amount of aperture blades with the aptly labeled parameter Aperture Blade Count. Note that this setting can influence performance.

As can be seen in the diagram above, the shape of the diaphragm blades and the opening also controls how round the aperture becomes. For simple blades with circular edges, the aperture is completely round when it is fully open and becomes increasingly polygonal when it closes. More expensive lenses contain diaphragms with more complex designs and sliding mechanisms to ensure round bokeh discs at almost all f-stops.

Using the Aperture Roundness parameter, you can deform the N-gonal shape into a circle and anything in between.

The aperture is not the only part of a lens that can shape how the bokeh looks like. Things like lens distortion, Petzval effect or astigmatism can deform the bokeh disc at the screen corners in various ways. A whole group of them can be represented by scaling the bokeh discs along the tangential and sagittal axis, i.e. towards the screen center or around it.
Use the Tangential Bokeh Scale and the Sagittal Bokeh Scale to adjust this.

In real life, the prominent “bokeh balls” are most prominent if a small object is much brighter than the surrounding area, like LED lights on a christmas tree. On the computer, the final image of the game however contains tonemapped, gamma compressed colors where something as bright as the sun is just marginally brighter than a white wall.

As such, filtering the image as-is won’t produce the prominent bokeh characteristics we want. Hence, the Depth of Field shader converts the colors back into something resembling their original dynamic range. It can only guess, because the original compression process is game dependent and unknown. Luckily, this compression process (tonemapping) is modeled after the human eye, so they are all very similar.

In any case, depending on the process and the game – it might not use actually physically based dynamic ranges – the intensity of the bokeh discs can be tweaked with the Bokeh Intensity  slider. Raising this will make small, bright dots stand out more against the background.

Terms and Conditions
Cookie Policy
Privacy Policy