INDUSTRY COLOR GRADING FOR RESHADE

ReGrade is the most comprehensive color correction and grading suite for ReShade. Its elegant interface is fast to learn and easy for new users, yet powerful for professionals, combining a rich set of different color operators in a single effect.
Many shaders for ReShade are designed to apply specific color adjustments similar to industry-standard software like Adobe Lightroom or DaVinci Resolve. A common approach in ReShade is using many color adjustments simultaneously to achieve the desired look.
Here’s why ReGrade is the superior choice:
Why ReGrade?
Superior Performance
Each ReShade effect has a base overhead; dividing color transforms into multiple shaders costs unnecessary performance. ReGrade is a single shader.
ReGrade is also heavily optimized, leveraging many tricks to maximize performance. As a result, ReGrade is one of the fastest shaders for ReShade, significantly outperforming other shaders in its class.
Nondestructive Edits
The colors on your screen have limited data precision. Applying multiple color transforms in separate shaders can reduce the dynamic range drastically. The image might appear posterized, color gradients become stripy.
ReGrade performs all color transformations at once with high precision for pristine colors.
Efficiency
With many effects enabled at once, a preset becomes hard to manage. Preset authors transition from adjusting already active effects to counteracting by adding more.
With ReGrade, all your color management is done in a single location, making it efficient and maintainable.
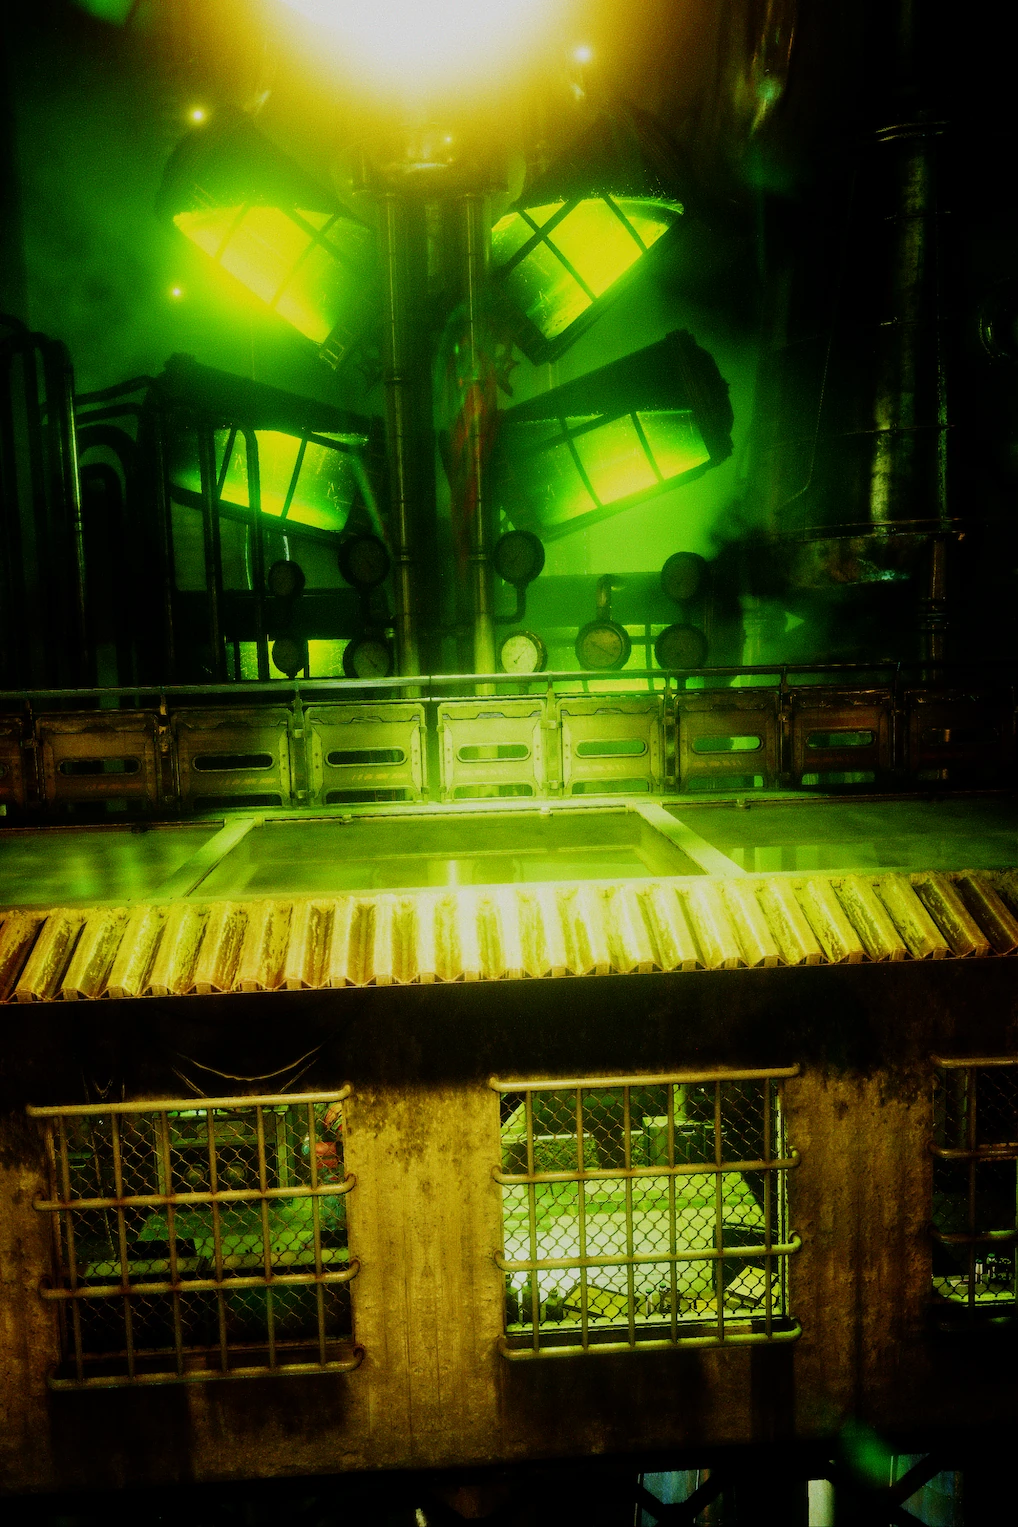
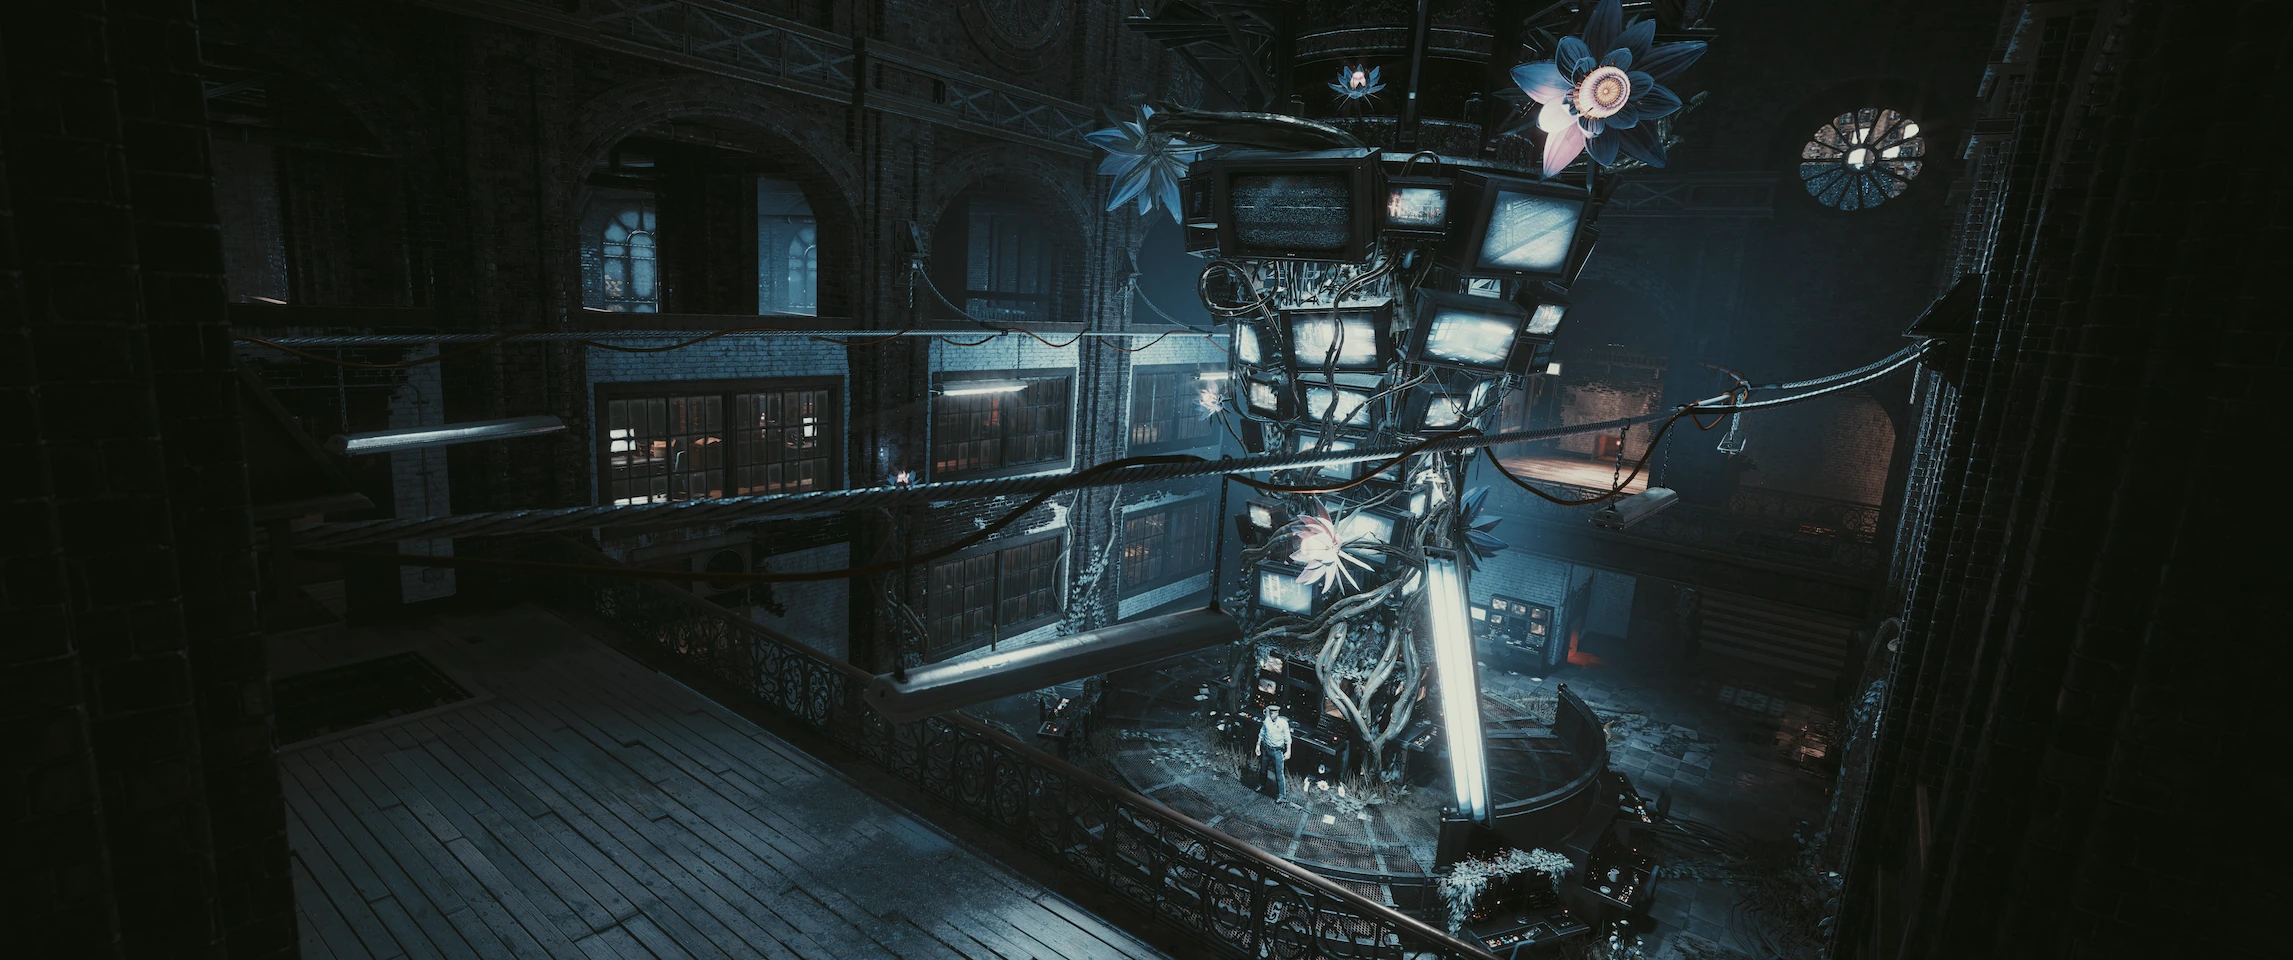
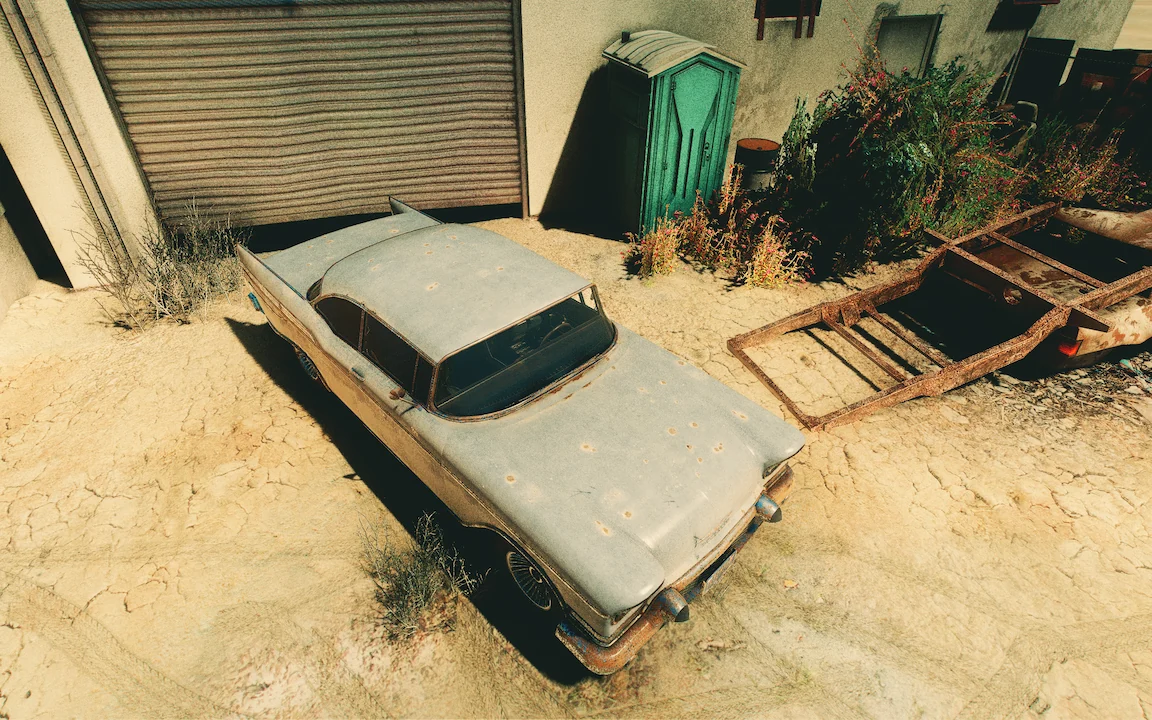
Results